How to Build Your First AI Workstation (Step-by-Step Guide)
A complete walkthrough from parts list to running your first local LLM — hardware assembly, OS setup, NVIDIA drivers, CUDA, and Ollama configuration.
Compute Market Team
Our Top Pick
What You'll Build
By the end of this guide, you'll have a fully working AI workstation running local LLMs, image generators, and AI agents — all on your own hardware with no cloud bills. No prior build experience required.
Note
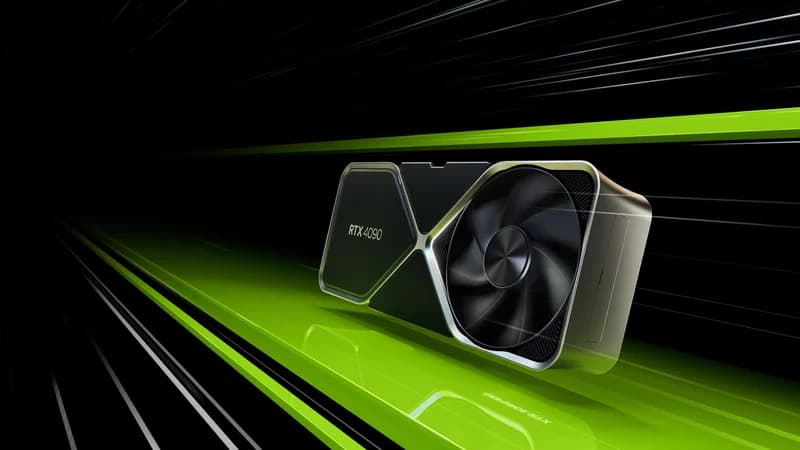
This guide targets a mid-range build (~$3,000–$4,000 with an RTX 4090). You can swap components for any budget — see our AI workstation cost breakdown for alternative builds.
Step 1: Get Your Parts
Here's our recommended mid-range parts list:
| Component | Our Pick | Why |
|---|---|---|
| GPU | NVIDIA RTX 4090 24GB | Best value for 24GB VRAM |
| CPU | AMD Ryzen 7 7700X | 8 cores, great single-thread perf |
| Motherboard | ASUS TUF X670E-PLUS | PCIe 5.0, dual M.2, solid VRMs |
| RAM | 64GB DDR5-5600 (2x32GB) | Enough for datasets + system |
| Storage | Samsung 990 Pro 4TB | Fast model loading, room for datasets |
| PSU | Corsair RM1000x 1000W | 80+ Gold, fully modular, quiet |
| Case | Fractal Design Meshify 2 | Excellent airflow for GPU heat |
| Cooler | Noctua NH-D15 | Quiet, no pump failure risk |
As Tim Dettmers writes in his widely cited GPU recommendations: "The most important single number for deep learning is the amount of GPU memory. It determines the maximum model size you can train and the batch sizes you can use." Tom's Hardware testing confirms the RTX 4090 remains the best consumer GPU for AI workloads in price-per-TFLOP when factoring in its 24GB VRAM ceiling.
If you want more headroom, NVIDIA's Blackwell-generation RTX 5090 steps up to 32GB GDDR7 and faster inference, running 70B-class models with more breathing room than the 4090's 24GB. Deciding between the two? Our RTX 5090 vs RTX 4090 for AI comparison breaks down the trade-offs.
Warning
The RTX 4090 is a massive card (3+ slot, 336mm long). Verify your case has clearance before buying. The Fractal Meshify 2 fits all current 4090 models.
For storage, fast NVMe matters more than capacity alone — model files load directly off disk into VRAM, so sequential read speed shapes cold-start times. The Samsung 990 Pro 4TB is our pick here.
Step 2: Assemble the Hardware
If you've never built a PC before, don't worry — it's straightforward. Think of it as adult LEGO with expensive pieces.
- Install CPU: Lift the motherboard retention arm, align the CPU triangle marker, drop it in (zero force), close the arm.
- Install RAM: Open the clips on the DIMM slots, align the notch, press firmly until both clips snap shut. Use slots A2 and B2 (2nd and 4th from CPU) for dual-channel.
- Install NVMe SSD: Unscrew the M.2 heatsink, insert the SSD at 30 degrees, push flat, screw in, replace heatsink.
- Mount motherboard: Install the I/O shield, align standoffs, screw in 9 screws (don't overtighten).
- Install PSU: Mount in the bottom compartment, route cables through the back. You'll need: 24-pin ATX, 8-pin CPU, and the 16-pin 12VHPWR cable for the GPU.
- Install GPU: Remove the necessary PCIe slot covers, insert the RTX 4090 into the top PCIe x16 slot, secure with screws, connect the 16-pin power cable.
- Install cooler: Apply thermal paste (pea-sized dot), mount the Noctua NH-D15, attach fans.
- Connect front panel: Power button, USB, audio headers — your motherboard manual has the pinout.
Step 3: Install the Operating System
You have two good options:
- Ubuntu 24.04 LTS (recommended): Best ML framework support, native Docker, community tutorials. Most AI tools target Linux first.
- Windows 11: Easier if you also want to use the machine for daily tasks. WSL2 provides a Linux environment for AI workloads.
Ubuntu Setup
- Download Ubuntu Desktop 24.04 LTS from ubuntu.com
- Flash to USB with Balena Etcher or Rufus
- Boot from USB, install with default settings
- After reboot, update the system:
sudo apt update && sudo apt upgrade -y
sudo reboot
Step 4: Install NVIDIA Drivers + CUDA
The GPU driver and CUDA toolkit are what let AI software talk to your hardware.
# Install NVIDIA driver
sudo apt install -y linux-headers-$(uname -r)
sudo apt install -y nvidia-driver-550

# Reboot to load the driver
sudo reboot

# Verify — you should see your RTX 4090 listed
nvidia-smi
You should see your GPU with driver version, temperature, and memory info. If it works, install CUDA:
# Install CUDA Toolkit
sudo apt install -y nvidia-cuda-toolkit

# Verify CUDA
nvcc --version
Warning
If nvidia-smi fails: disable Secure Boot in BIOS, reboot, and try again. Secure Boot blocks unsigned kernel modules including NVIDIA drivers.
Step 5: Install Ollama and Run Your First Model
Ollama is the fastest way to start running LLMs locally. One command to install, one command to run.
# Install Ollama
curl -fsSL https://ollama.ai/install.sh | sh

# Run Llama 3.1 8B (downloads ~4.7GB on first run)
ollama run llama3.1

# Try a larger model if you have the VRAM
ollama run llama3.1:70b
That's it — you're now running AI locally. The 8B model works on any GPU with 6GB+ VRAM. The 70B model needs 24GB+ (your RTX 4090 handles it perfectly in 4-bit quantization). According to Puget Systems' workstation benchmarks, a properly configured RTX 4090 build achieves over 120 tokens/sec on Llama 3 8B — fast enough for real-time conversational AI.
Step 6: Install More AI Tools
Stable Diffusion (Image Generation)
# Install ComfyUI (recommended Stable Diffusion interface)
git clone https://github.com/comfyanonymous/ComfyUI.git
cd ComfyUI
pip install -r requirements.txt
python main.py
Open http://localhost:8188 in your browser. Download SDXL or Flux models from HuggingFace and start generating images.
Open WebUI (ChatGPT-like Interface for Ollama)
# Run Open WebUI via Docker
docker run -d -p 3000:8080 \
  --add-host=host.docker.internal:host-gateway \
  -v open-webui:/app/backend/data \
  --name open-webui \
  ghcr.io/open-webui/open-webui:main
Open http://localhost:3000 — you now have a ChatGPT-like interface running entirely on your hardware.
Step 7: Optimize Performance
- Monitor GPU: Run
watch -n 1 nvidia-smito track utilization, temperature, and VRAM usage - Set GPU power limit: If thermals are an issue,
sudo nvidia-smi -pl 350reduces heat with minimal performance loss - Use quantized models: 4-bit (Q4_K_M) models use ~4x less VRAM with only 5–10% quality loss
- Enable persistence mode:
sudo nvidia-smi -pm 1keeps the GPU initialized for faster cold starts
You're Done — What's Next?
You now have a complete AI workstation. From here:
- Explore different models on Ollama's model library
- Try fine-tuning with tools like Axolotl or Unsloth
- Set up a NAS for dataset storage if you're working with large datasets
- Read our GPU buyer's guide if you're thinking about upgrading